BABY RATTLE WITH CAPTIVE RING
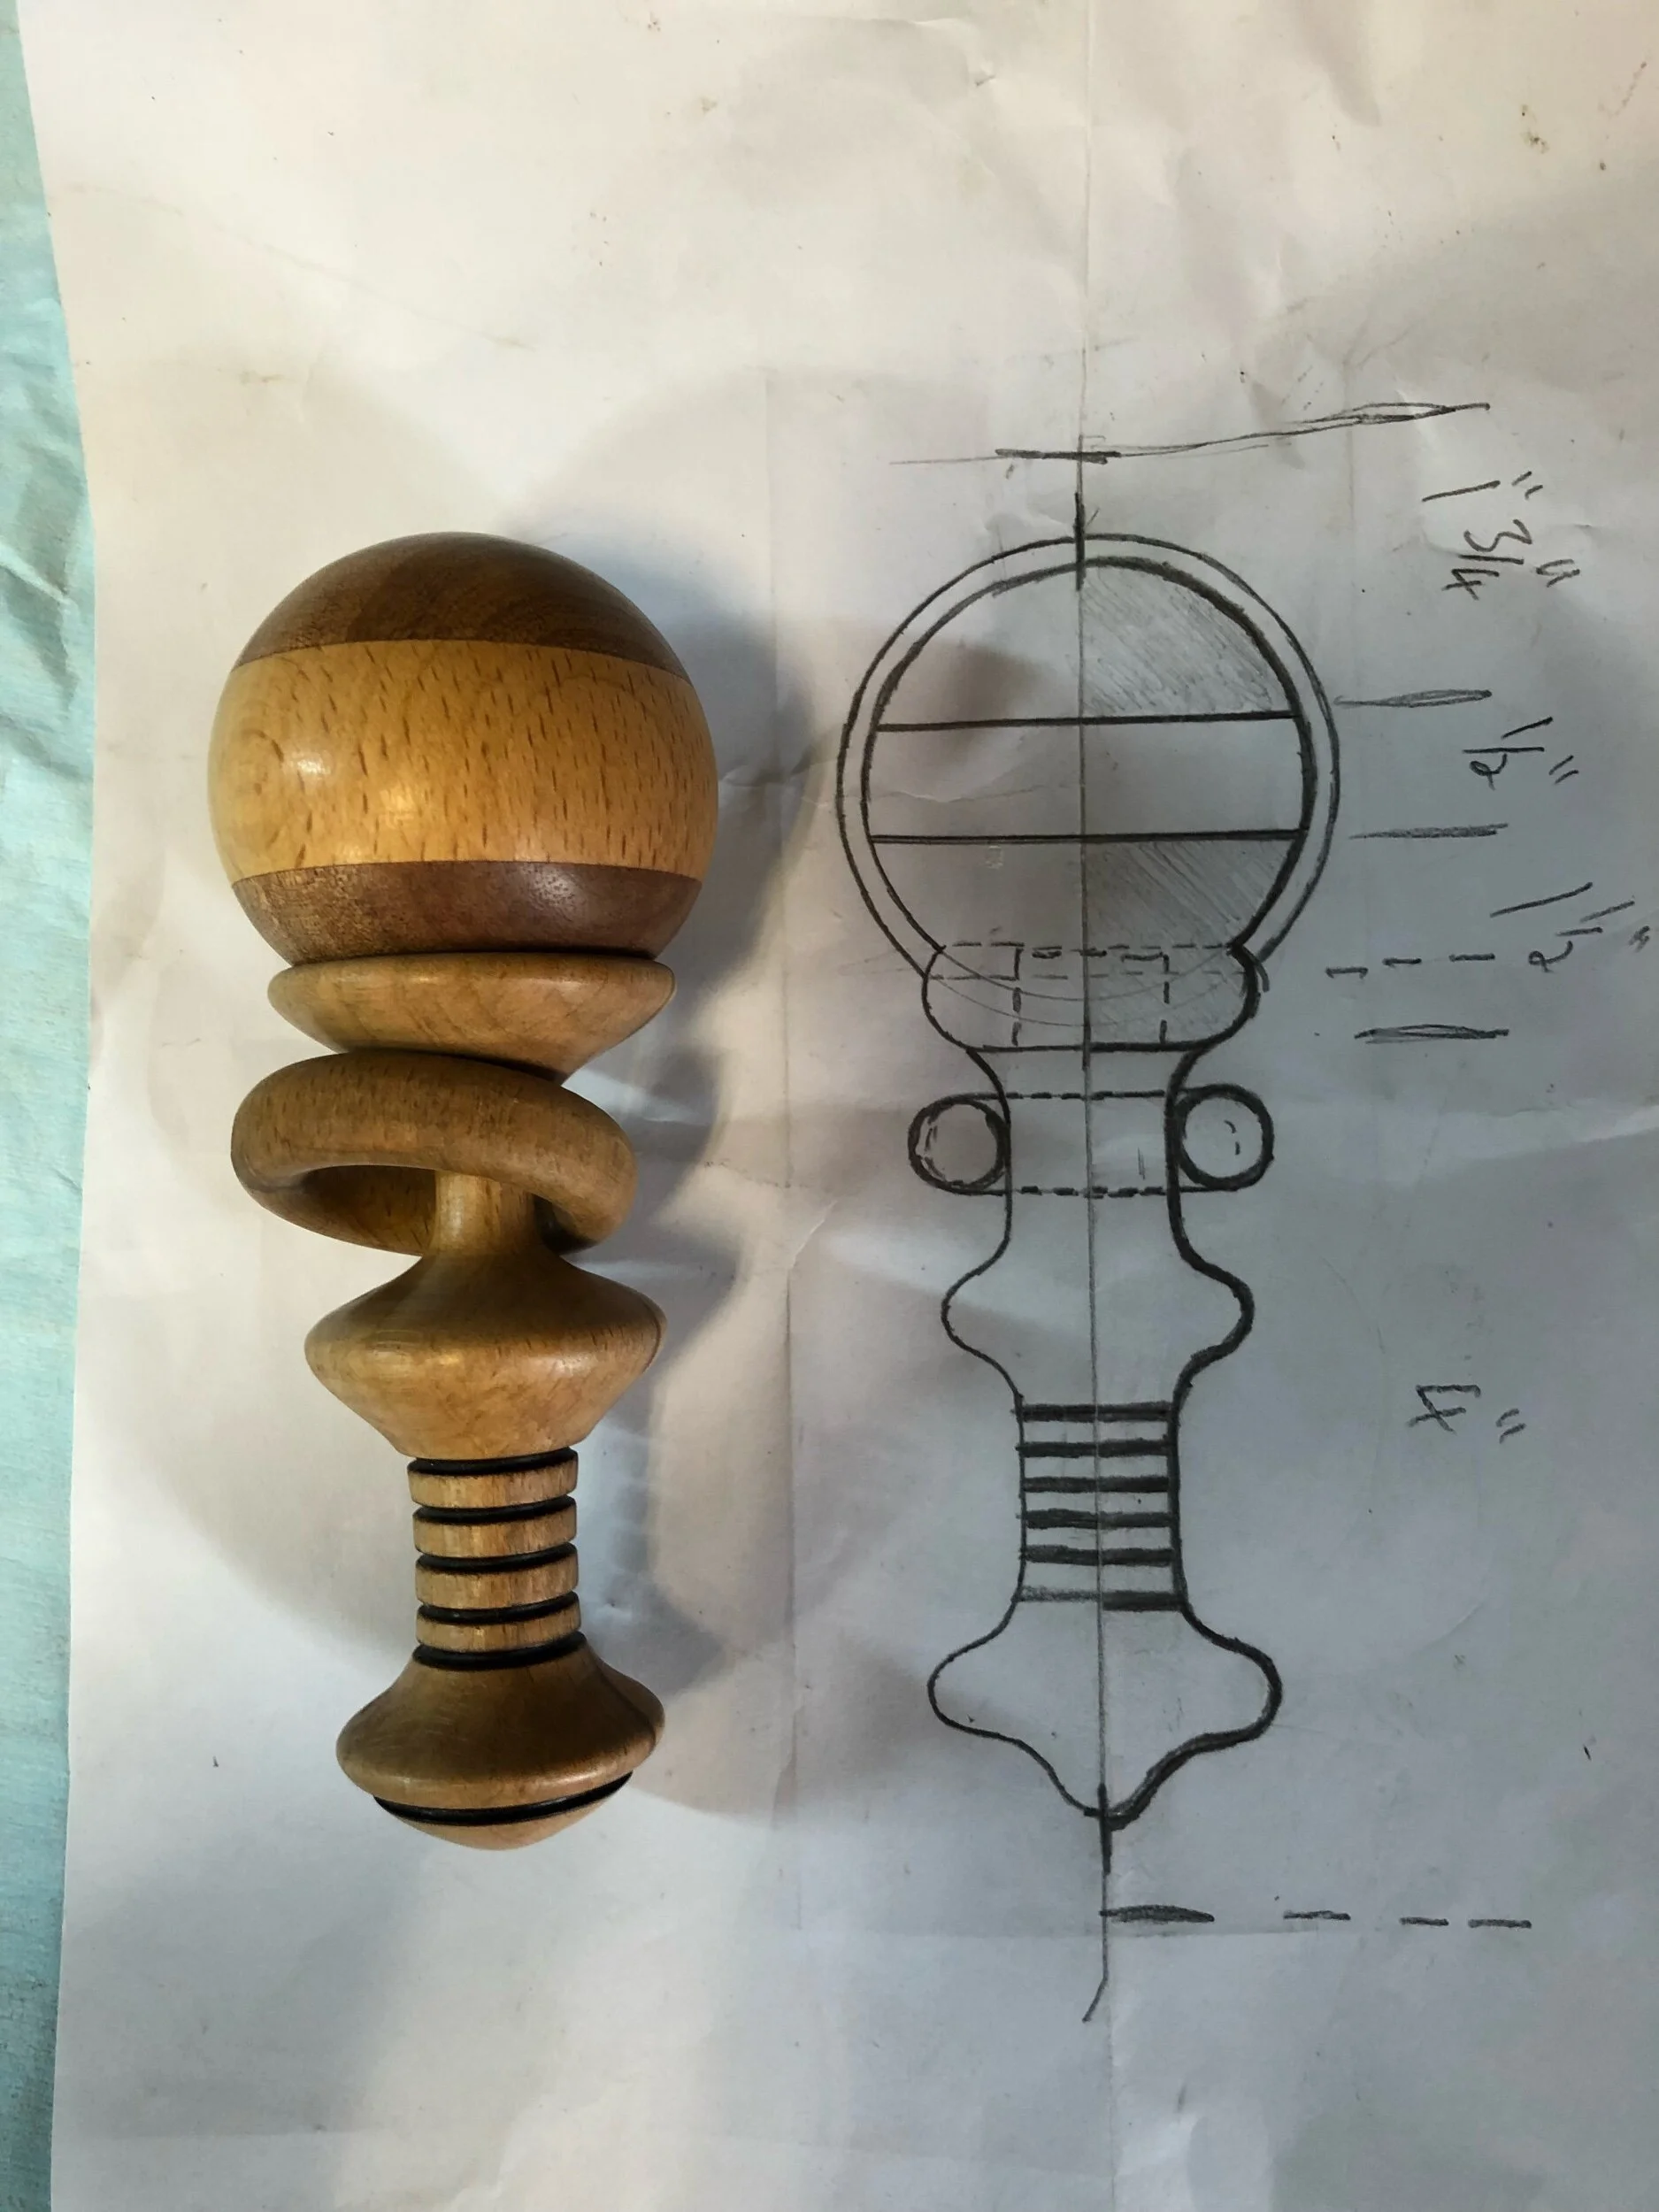
Visualising the design
When you are designing something and the pencil first hits the paper, it’s always good to have a simple idea first. You can always build on simple ides and refine as you go along, drafting out a design and revisiting it several times allows you to pick out the flaws and the parts you simply don’t want and keep in the important things. Trying to make a drawing actual size can be a challenge especially on larger items. But if you can get it close on paper it allows you to see the alternatives and get a little more creative, work out what’s going to be needed and plan. If you have the ability to break down the part into an exploded view in your head, that’s also very useful and makes the drawing/design stages a lot easier.
Getting the handle right
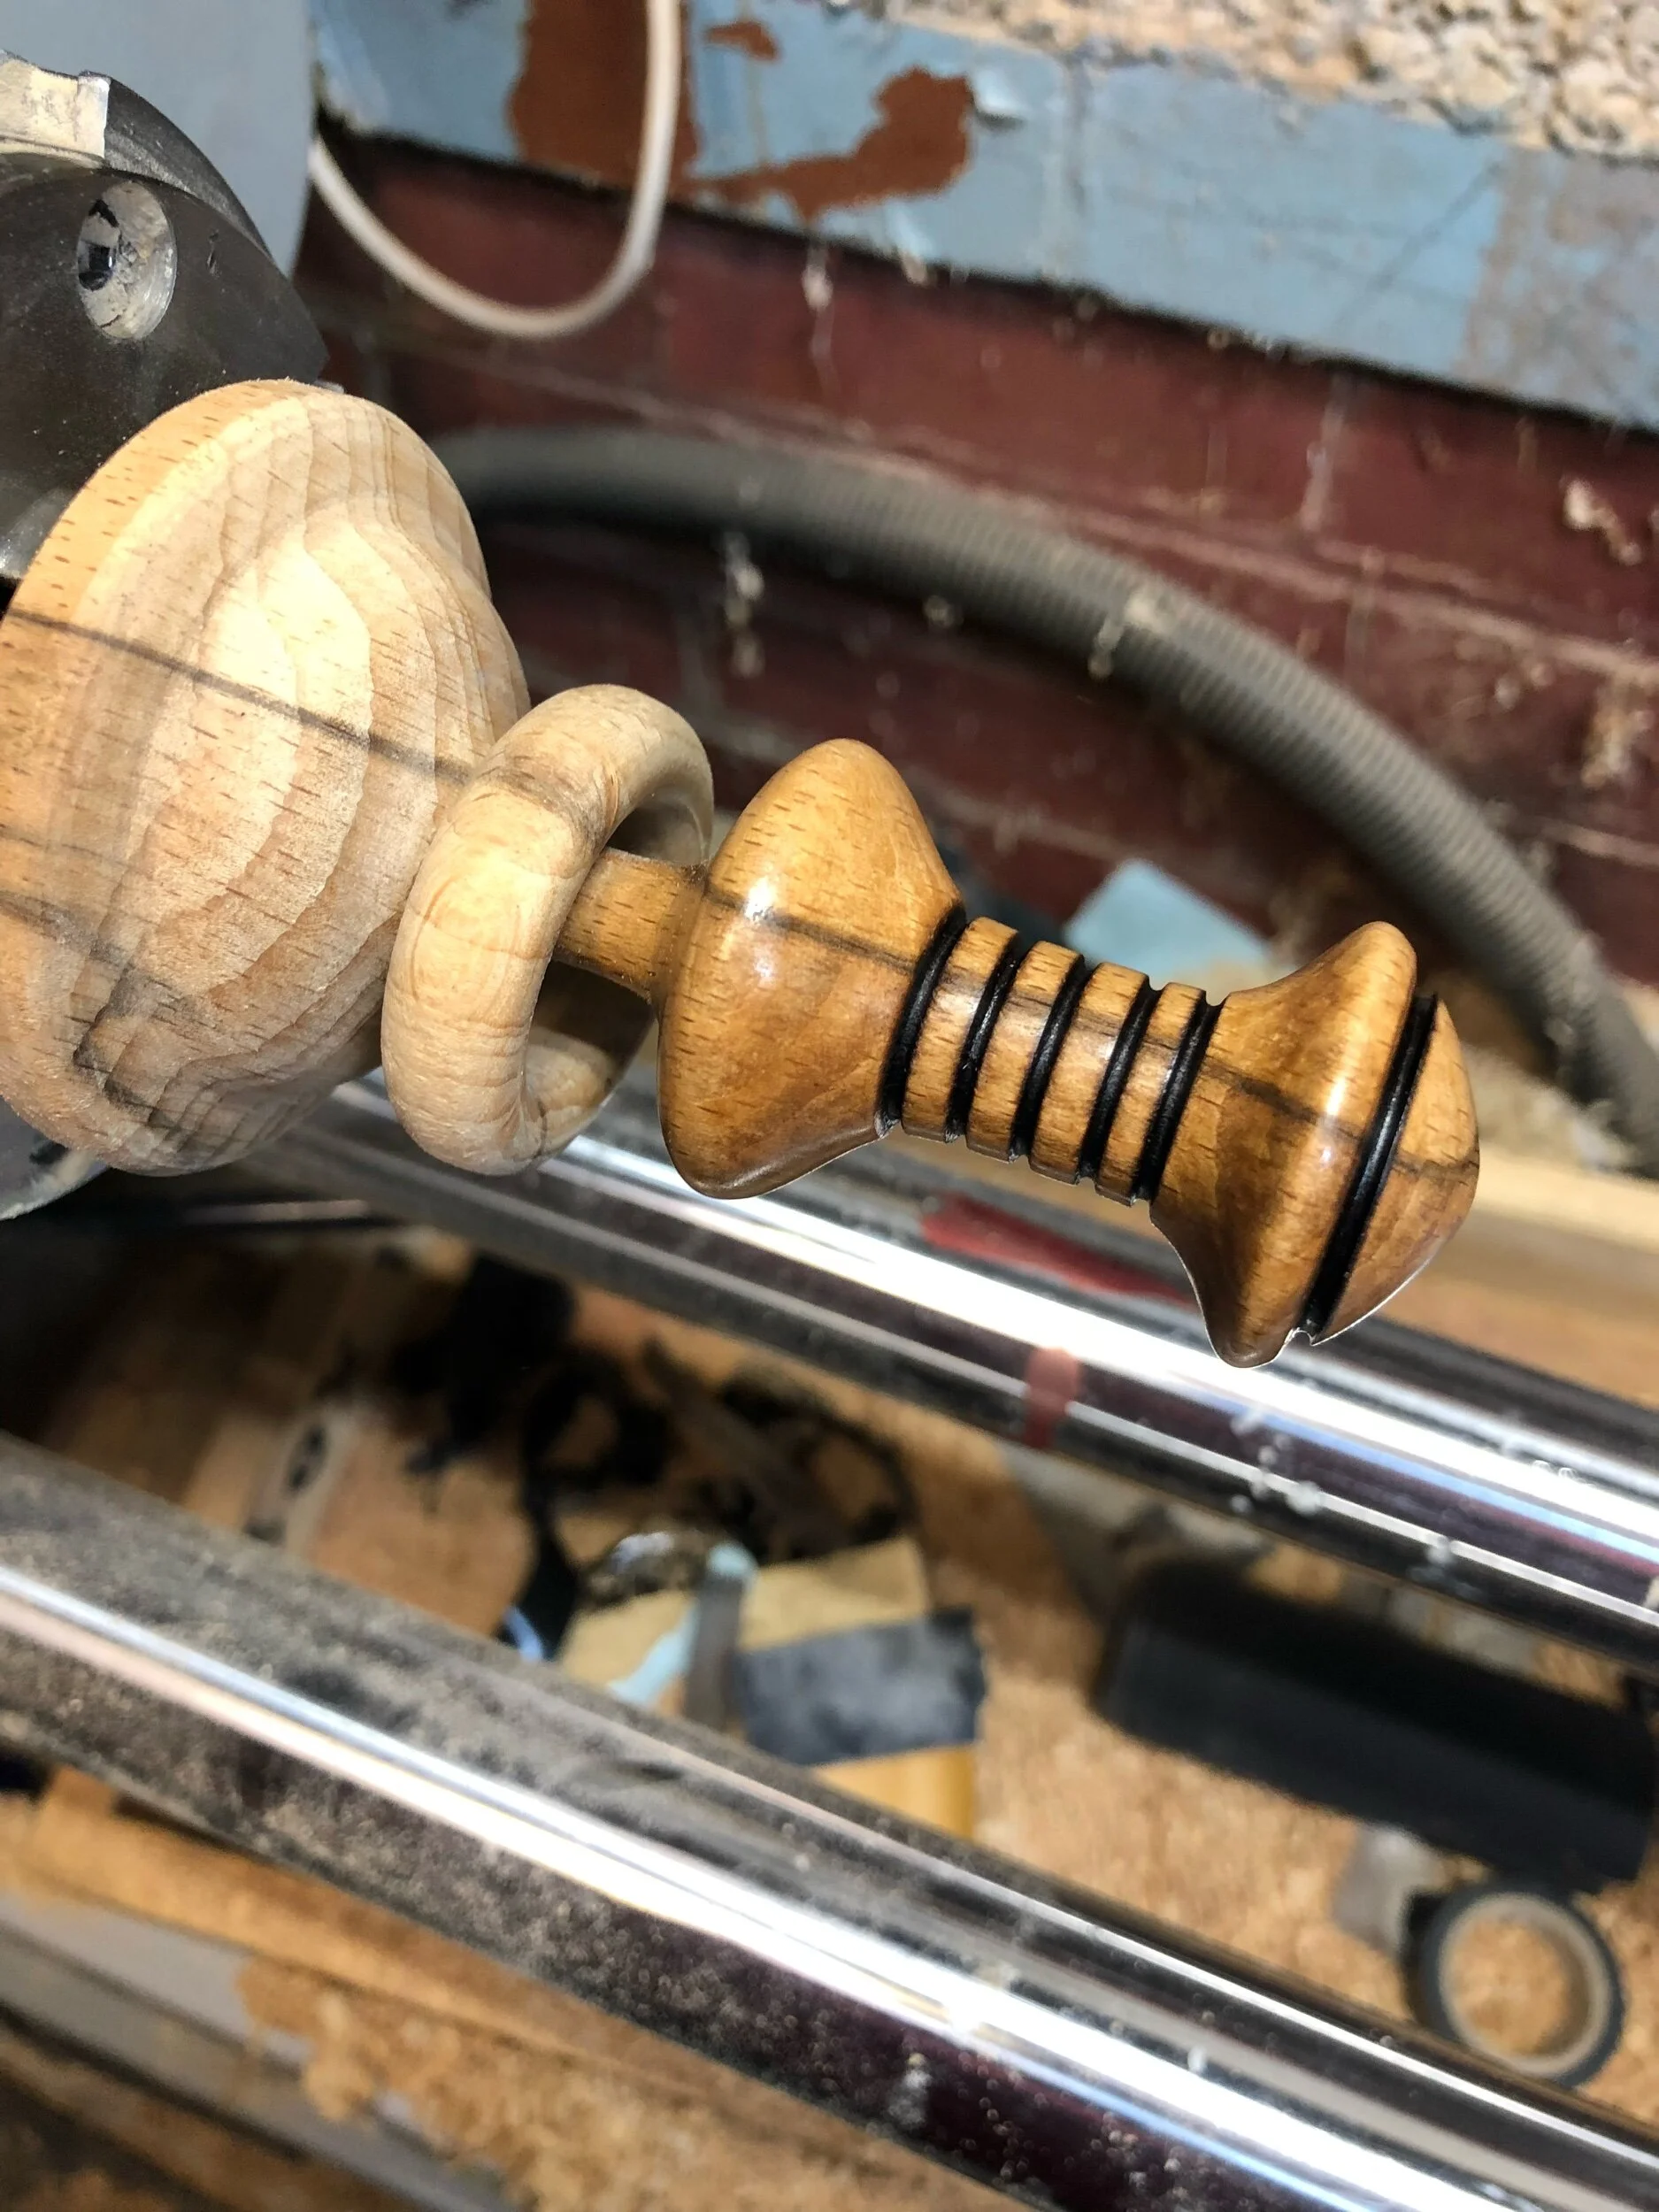
Fortunately I have friends that at the time of making this rattle, had babies, hence me making these as gifts for them. So I was able to measure hands or get references from them to design the correct size and shape for a baby just starting to grip. If this isn’t available to you, there are many references online you can find for sizing up anything you like from body parts to car parts. The length on the handle will always be short but I was surprised as to the width and just how thick it was needing to be, for both stability of build and the babies grip, bearing in mind that this needs to last a little while, during baby’s growth. The ridges in the handle help both with grip and give a sensory texture to play with during use. Everything is smoothed to ensure it’s safe and splinter free all round.
Right shape for babies mouth
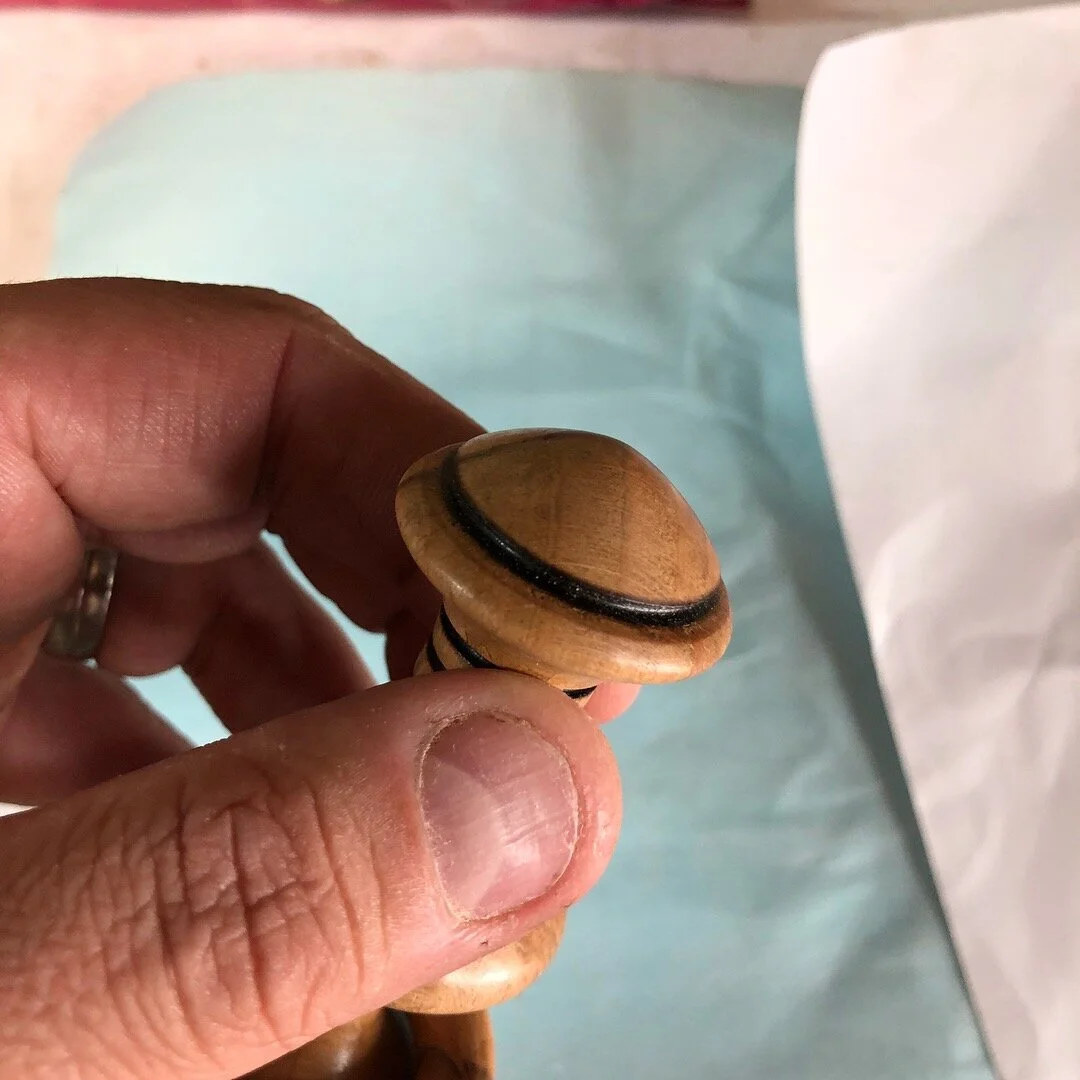
The base of the rattle needs to be smooth and the right size and shape to ensure that it will not splinter, break-off or be painful to chew on for the baby, to this end, I always have the same end on my rattles, the shape is such that the baby cannot get it stuck in their mouth, it’s smooth for their tongue and it is easy to clean and check for damage. but at the same time is nice to look at, because even though a baby cannot grasp the idea of beautifully made woodwork items, they can grasp this and it must be nice for them or what’s the point. The finish on all the parts, especially those areas most common to arrive at the mouth, are coated in many layers of pure mineral oil and then left to dry between coats, I then polish them up with some beeswax and that’s it done, happy chewing.
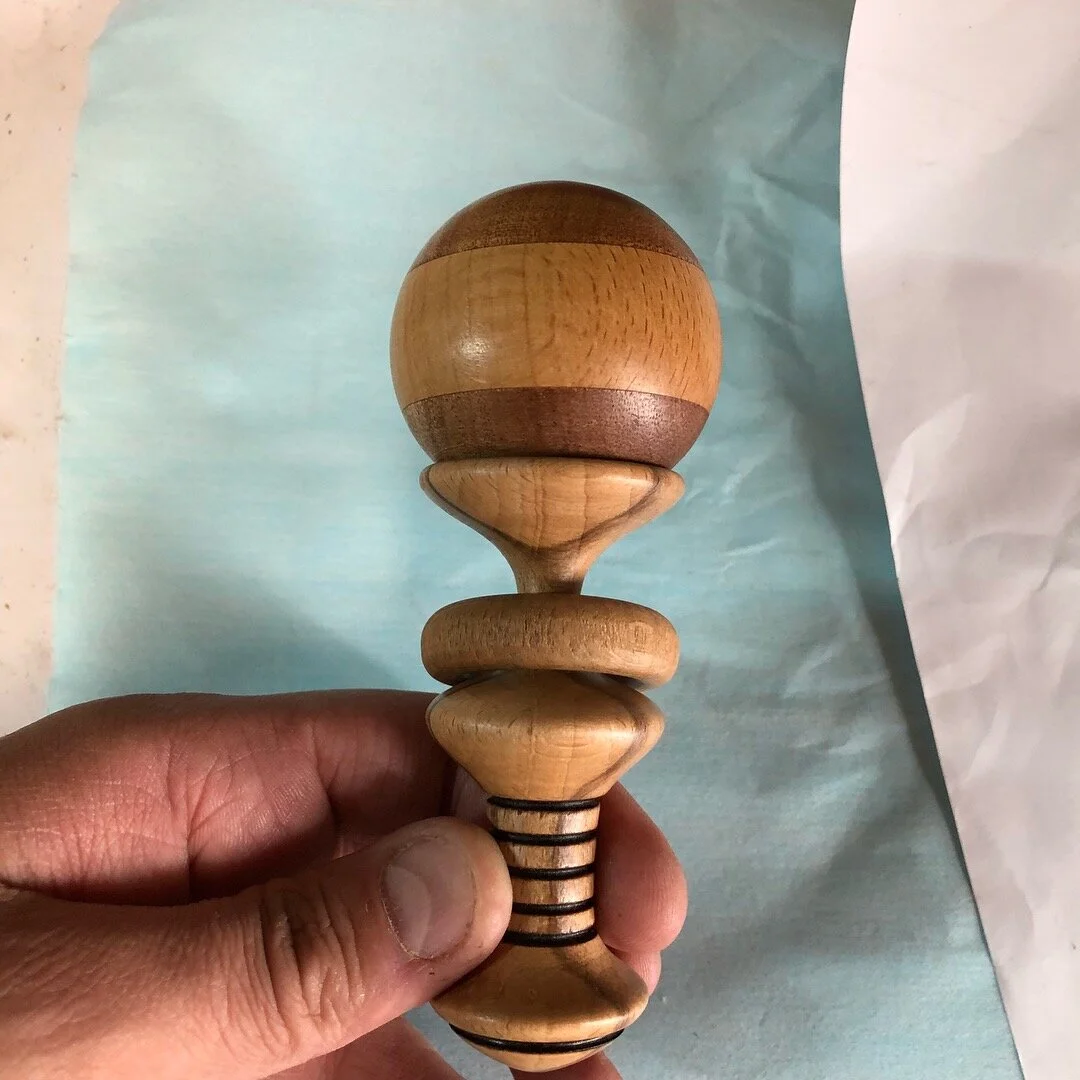
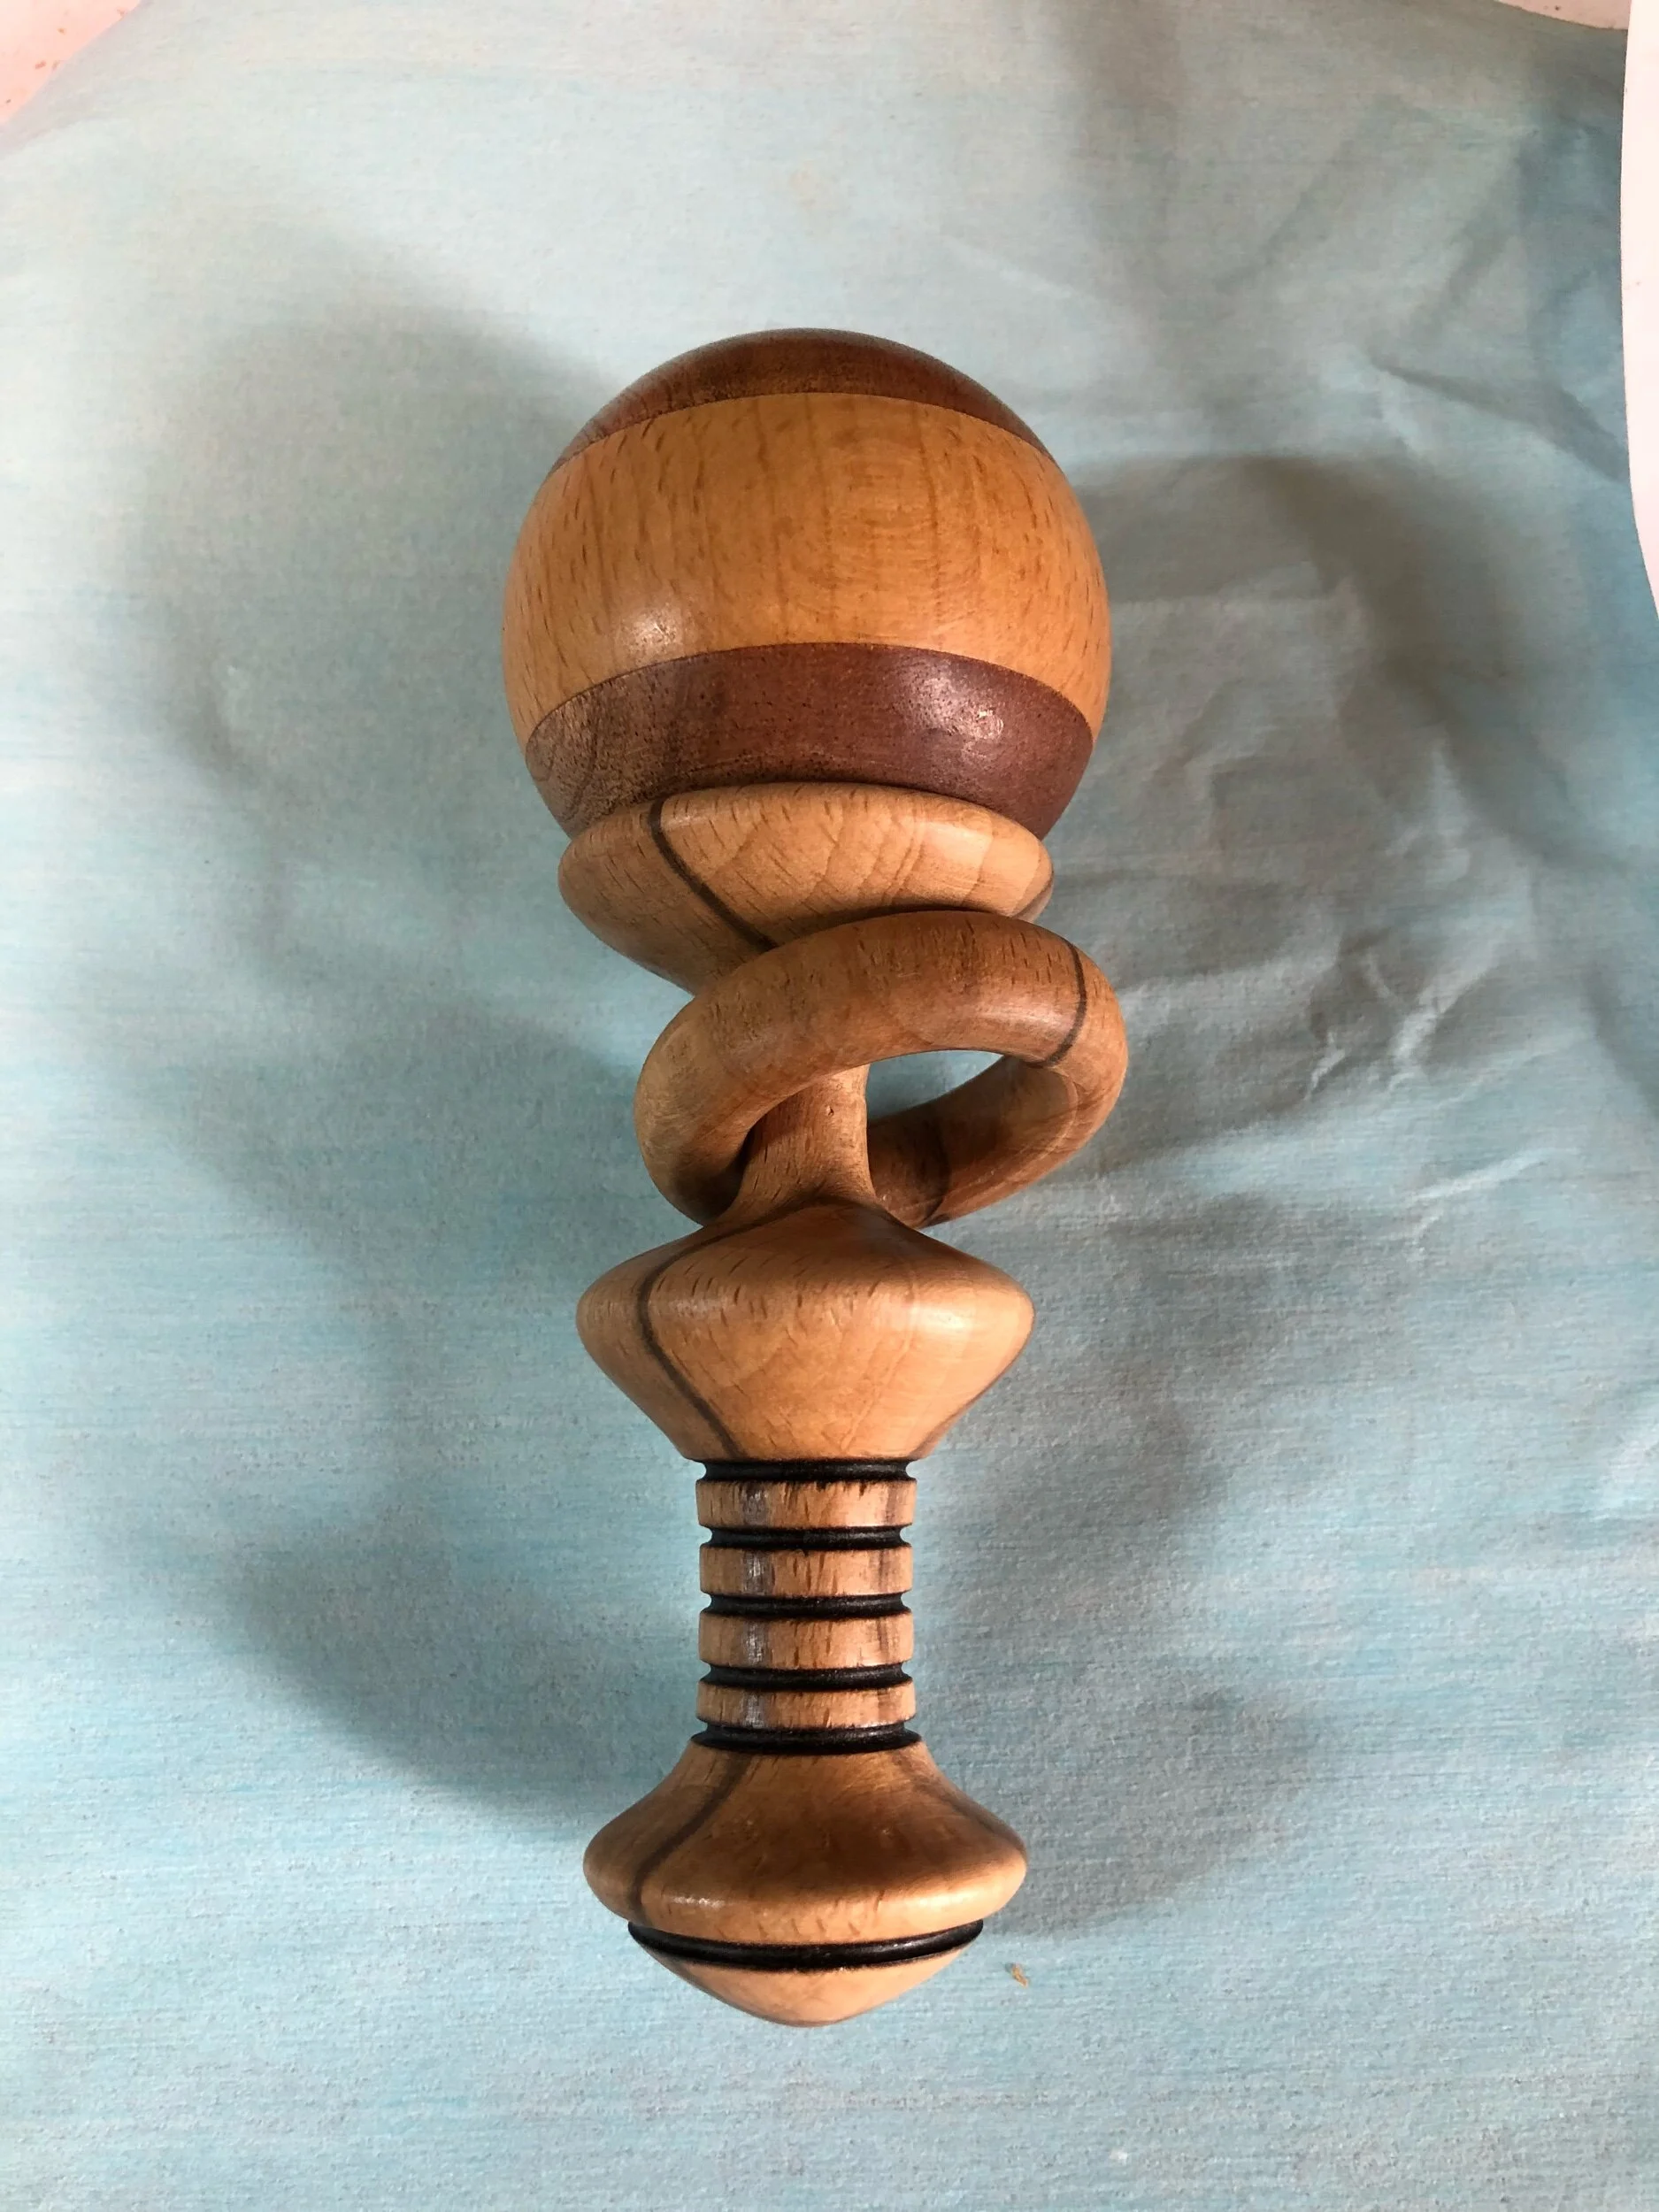
the captive ring
The captive ring is a challenge, especially when you don’t have the prescribed tool for the job, but I wanted to have a go anyway. To actually achieve this, I took an old thin carving tool, squared off the edges and then tapered it to an elbowed point. This then meant I could move it along the tool rest in an arc formation to create both the outside profile and start the inside profile that would eventually meet up with it. The base of the head cup and top of the handle section blends nicely into making the recess for measuring up the ring, as long as you go slowly, the ring starts to form and all you need to do is prevent trappage or a catch that will inevitably rip the ring apart. Just need to remember to sand the outside of the ring as far as you can and as close to the inner section as possible before parting it from the main body, because once its parted company with the main material, its a pain to sand.
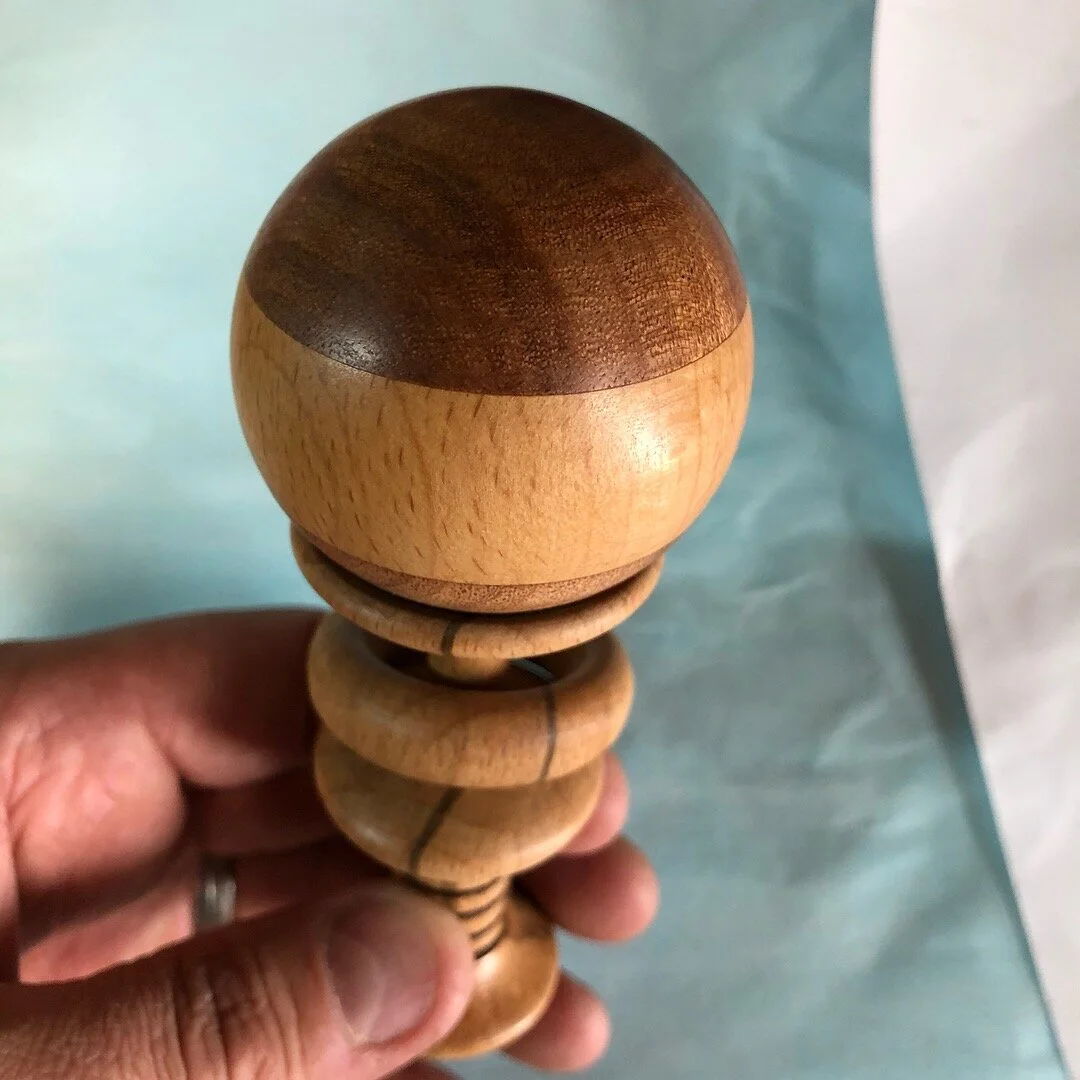
Turning the Ball and fitting
The ball is made up of two materials, beech and sapele, glued together in a fashion that compliments the overall design. This is done with squared blanks and then clamped. The resulting form is then placed into the lathe and turned using a hexagon method, then transferred into the orb turning cups that I made to allow me to eventually keep turning the piece a little until all the high spots were removed from the sphere and then it was sanded until around 600grit to ensure good surface feel. I then took the orb and drilled a large hole about 20mm deep to allow for the tendon to fit into that I created on then a-posing handle area above the cup that holds/supports the sphere in place. All this needed was a slightly snug fit and glue and the two halves held together well. Even if the top of the rattle does eventually come loose through heavy drooling, both parts are too large to cause baby any harm or issues and the glue is well absorbed into the wood.
Finished and lessons learned
So the overall look and the finished article Is complete and the chance to look back and see where the design may be changed or improved is upon us. This isn’t because the piece made is wrong, but to see what other variations or designs can be made from what we learned through the process. Every project has improvement opportunities for skills building within the design and creating stages of the process. It is definitely a good idea to go back over your project and have a lessons learned session, either with yourself or using a friend as a sounding board for your creations, these can also be called Post-mortem documentation. They serve to help you be honest with yourself and progress.
So the rattles that I make were always meant to be used and enjoyed, the fact that I have happy customers that love the items I make, as much as I love making them, is a real boost to me and gives me both pleasure and a drive to do more and improve further.
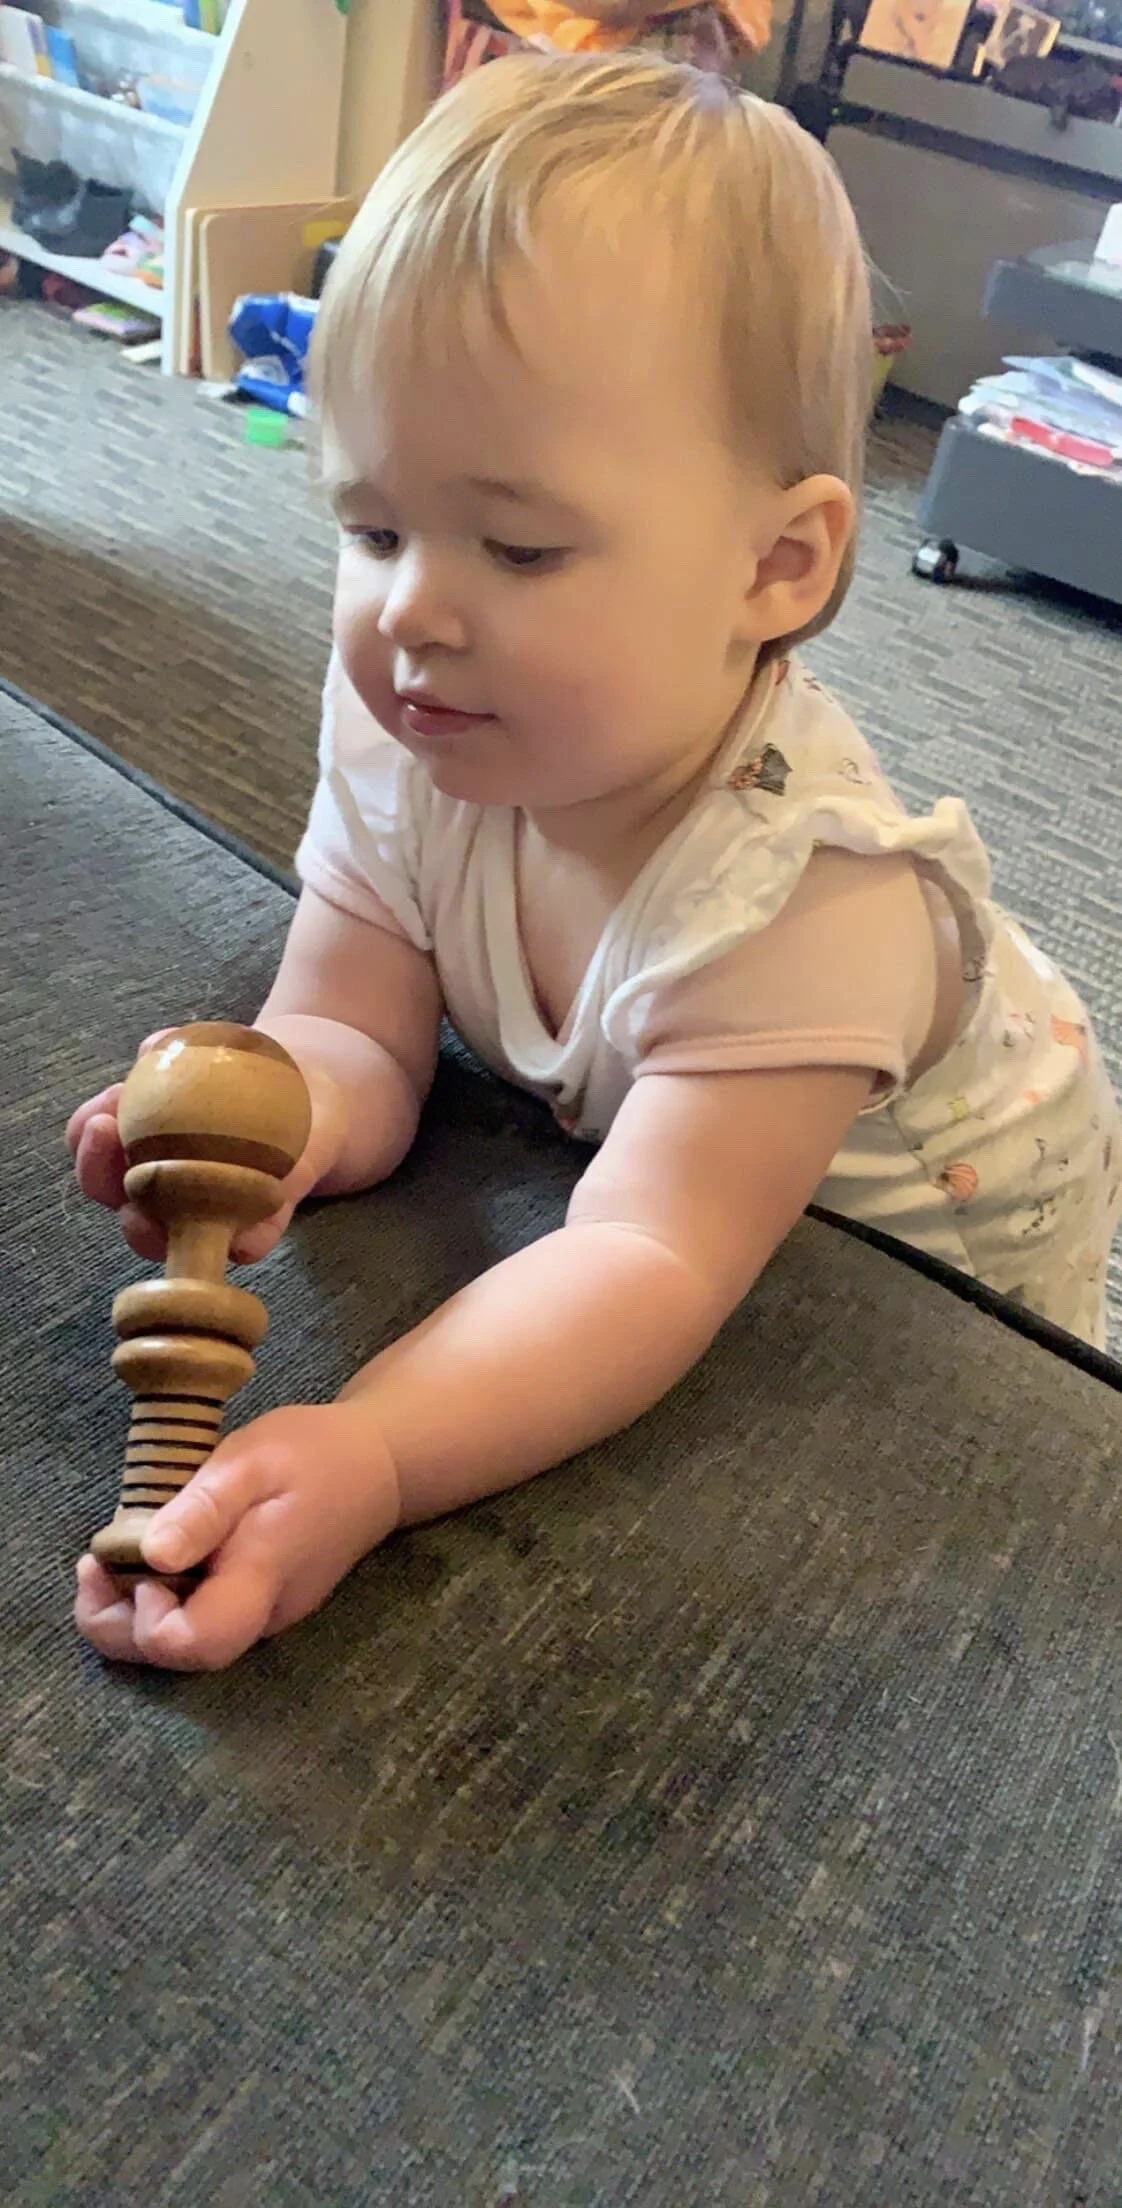
I gave one of the rattle you see in the pictures above to a friend with a little girl called Lillie-Ann. She has had the rattle since close to her birth and by all accounts used it, but the other day I was sent the photo to the left, Lillie-Ann had found it among her other toys and was happily playing with it when her mum found her and wouldn’t let it go.
This is why I make things, knowing that it is doing its function and is still worthy is brilliant. Happy rattling Lillie-Ann.